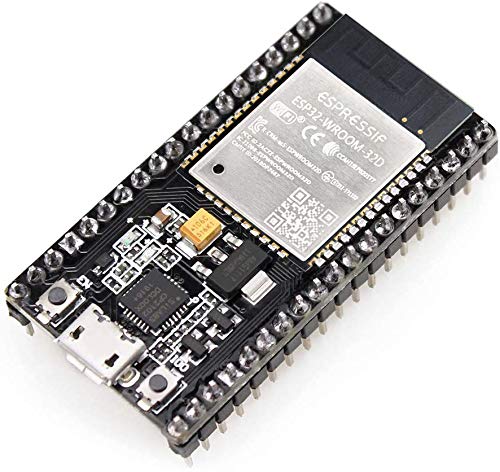
The ESP32 is a low cost micro-controller which includes Bluetooth and 802.11 wireless connectivity. Development boards can be purchased for around £7, and use micro USB for power and reprogramming.
This article is going to look at how to setup a development environment in Ubuntu 22.04 so we can deploy software to the device.
First plug the device in, and check it’s recognised by the operating system using the lsusb command. You should see an entry similar to the following:
Bus 001 Device 006: ID 10c4:ea60 Silicon Labs CP210x UART Bridge
Using the dmesg command, you should be able to see the device being allocated a TTY:
usb 1-2: New USB device found, idVendor=10c4, idProduct=ea60, bcdDevice= 1.00
usb 1-2: New USB device strings: Mfr=1, Product=2, SerialNumber=3
usb 1-2: Product: CP2102 USB to UART Bridge Controller
usb 1-2: Manufacturer: Silicon Labs
usb 1-2: SerialNumber: 0001
usb 1-2: cp210x converter now attached to ttyUSB0
If you see dmesg messages like the below shortly after plugging in the device, you will need to disable brtltty.
usb 1-2: usbfs: interface 0 claimed by cp210x while 'brltty' sets config #1
cp210x ttyUSB0: cp210x converter now disconnected from ttyUSB0
cp210x 1-2:1.0: device disconnected
brtltty is software to interact with braille displays. Enter the following commands to disable the brltty service:
systemctl stop brltty-udev.service
sudo systemctl mask brltty-udev.service
systemctl stop brltty.service
systemctl disable brltty.service
You may need to add the user to the “dialout” and “tty” groups to access the TTY device:
sudo usermod -a -G dialout <user>
sudo usermod -a -G tty <user>
Log out after making the usermod change. Next attempt to connect to the device using screen:
screen /dev/ttyUSB0 115200
If the device is working, you should get a blank screen. If you receive an error about screen terminating, something has went wrong…
Next, install packages required for ESP-IDF:
sudo apt-get install git wget flex bison gperf python3 python3-venv cmake ninja-build ccache libffi-dev libssl-dev dfu-util libusb-1.0-0
For installing ESP-IDF, you have a couple of options. Either install the software on the command line (recommended) or use Visual Studio to manage the dependencies.
Command Line Setup
Execute the below commands to install ESP-IDF to your home directory:
mkdir -p ~/esp
cd ~/esp
git clone --recursive https://github.com/espressif/esp-idf.git
cd ~/esp/esp-idf
./install.sh esp32
. ./export.sh
Add an alias to your bashrc file:
alias get_idf='. $HOME/esp/esp-idf/export.sh'
You can attempt to compile and upload a sample application to the device;
cd ~/esp/esp-idf/examples/get-started/hello_world
idf.py build
idf.py -p /dev/ttyUSB0 flash monitor
Visual Studio Code Setup
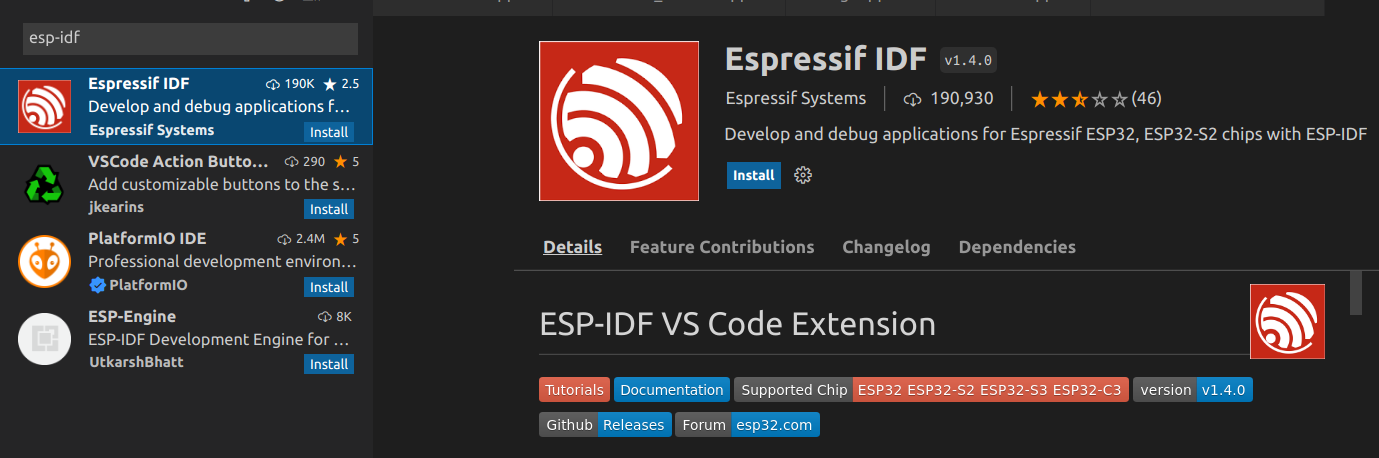
In Visual Studio Code, install the Espressif IDF extension by going to View > Extensions:
In VSCode, select View > Command Palette. Type “Git: clone” in the box which appears and enter the repository URL of https://github.com/risinek/esp32-wifi-penetration-tool
Once cloned, you should be prompted to setup Espressif IDF. Select express install.
At this point, you should be able to select the /dev/ttyUSB0 device using the panel at the bottom of VSCode. Instead I kept getting the error “Something went wrong while getting the serial port list”. It appears I’m not the only one receiving this error. To work around it, I create a symlink from ttyUSB0 to ttyUSB1 which is the default device:
ln -s /dev/ttyUSB0 /dev/ttyUSB1
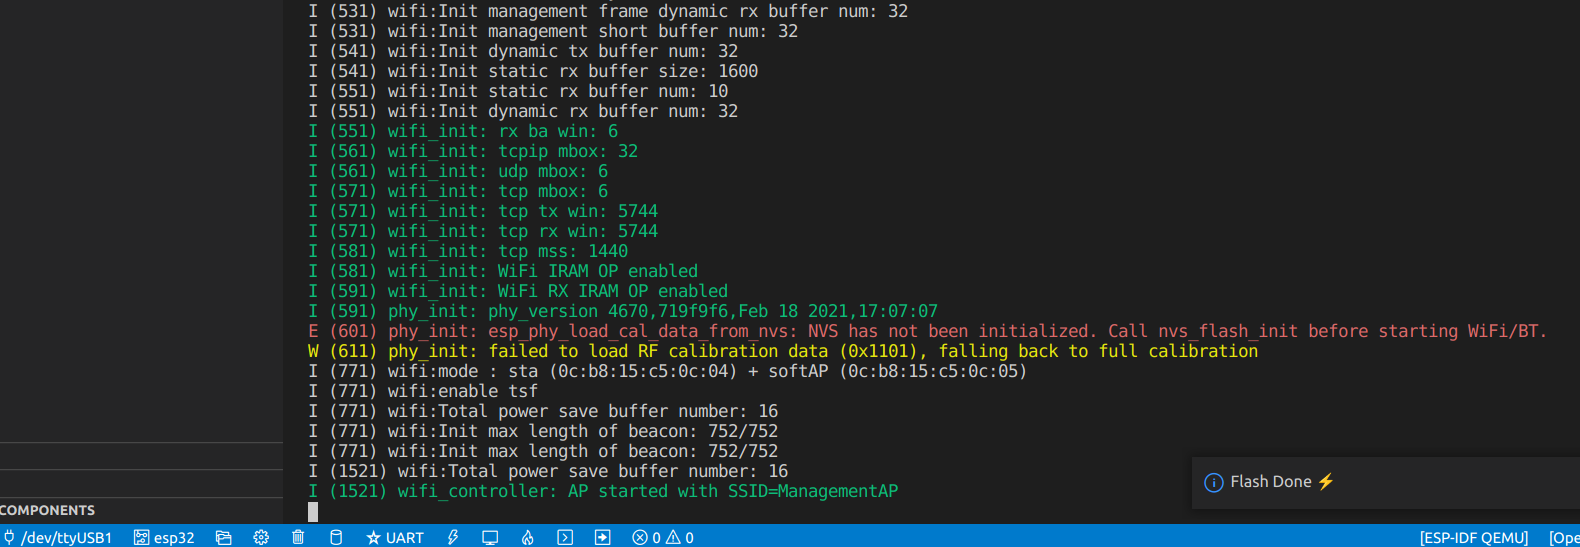
Clicking the flame icon at the bottom of the screen should result in the device being successfully flashed: